REVIEW · HIROSHIMA
Full Day Hiroshima and Miyajima Tour
Book on Viator →Operated by Snow Monkey Resorts Tours (Machinovate Japan Ltd.) · Bookable on Viator
One day, two icons of Japan. This full-day Hiroshima and Miyajima tour strings together Hiroshima’s major landmarks and moves you to Miyajima via a World Heritage Sea Route ferry—so you get big meaning and big views without juggling a spreadsheet of trains.
What I love is the way the day is handled by your guide. On my run, guide Isabella brought the stories to life with an upbeat, organized style that made the heavy stops feel clear instead of overwhelming. I also like the mix: garden calm, castle ruins, Peace Memorial learning, then a very different island rhythm.
One thing to consider: this is a walking-heavy day. There’s lots of time on foot, and lunch isn’t included, so you’ll want snacks or a plan for when the meal window opens.
In This Review
- Key highlights worth knowing
- How this one-day route makes Hiroshima manageable
- Meet-up in Hiroshimaekiminamiguchi and what the schedule feels like
- Shukkei-en garden: a calm start before the heavier parts
- Hiroshima Castle Ruins: what you’re really paying for
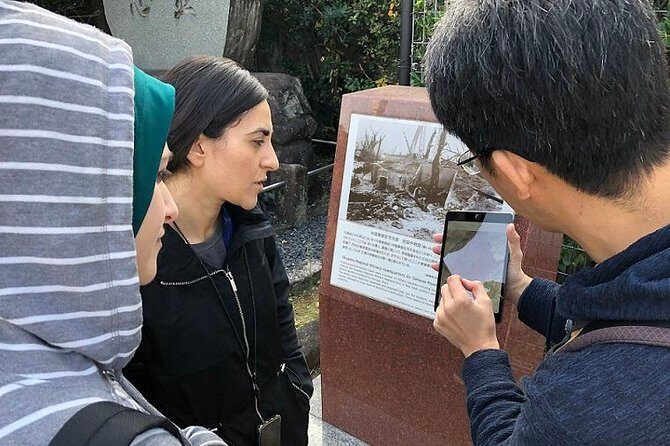
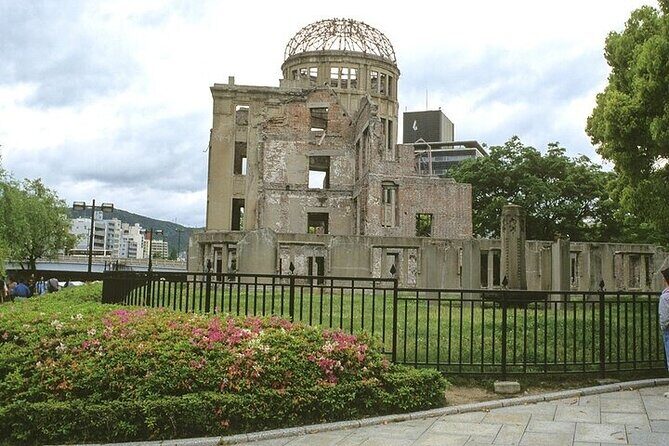
- Peace Memorial Museum: making the experience readable
- The World Heritage Sea Route ferry: the mental shift to Miyajima
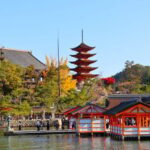
- Senjokaku Pavilion: the short stop that adds personality
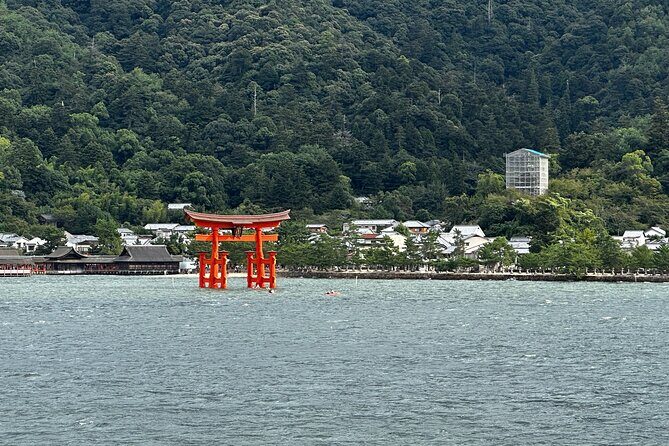
- Itsukushima Shrine Torii: where the island experience lands
- Walking, timing, and what to do so the day stays fun
- Price and value: what $165.19 covers (and why it can be worth it)
- Group size, guide style, and why it matters on emotionally heavy days
- Who this tour suits best
- Should you book this one-day Hiroshima and Miyajima tour?
- FAQ
- How long is the Full Day Hiroshima and Miyajima Tour?
- What time does the tour start, and where do I meet?
- What’s included in the price?
- Is lunch included?
- Do I take a ferry to Miyajima?
- Can I cancel and get a refund?
Key highlights worth knowing
- English-speaking guide with strong pacing that keeps the day moving and makes each stop make sense
- Shukkei-en, Hiroshima Castle Ruins, and Peace Memorial Museum all covered in one tight route
- World Heritage Sea Route ferry to Miyajima (about 45 minutes) with guidance along the way
- Senjokaku Pavilion as the short, unusual stop that adds texture to the island
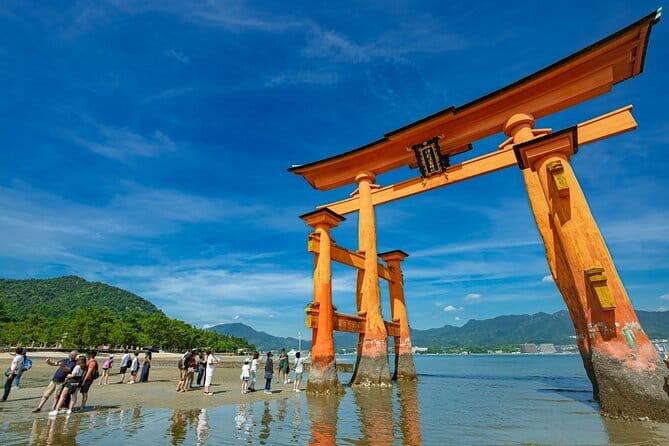
- Itsukushima Shrine Torii time paired with an explanation of Shinto basics
How this one-day route makes Hiroshima manageable
Hiroshima is one of those places where you can easily spend the whole trip just deciding what to see. This tour helps you cut through the chaos by grouping the key city sites first, then shifting to Miyajima for the signature island experience.
You start in the Hiroshima city center area and move through the day by guided route: garden, ruins, museum, then waterfront transport. By the time you reach Miyajima, you’re not starting from scratch. You’re carried there with a plan.
The best part is the balance. Hiroshima isn’t only about one kind of visit. You get scenic and reflective stops side-by-side, so your day feels like a full slice of the region instead of a checklist.
Other Miyajima Island tours in Hiroshima

Meet-up in Hiroshimaekiminamiguchi and what the schedule feels like
Your meeting point is the Hiroshimaekiminamiguchichikahiroba Information Center (9-1 Matsubarachō, Minami Ward, Hiroshima). The activity starts at 8:40 am, and the tour begins from Hiroshima Station around 9:00 am.
In practice, this matters because it gives you an early start without making you feel rushed at the beginning. Also, the group size is capped at 15 travelers, which helps the guide keep control of timing, especially when everyone is trying to read signs and spot landmarks.
The tour uses a mobile ticket, which is convenient if you prefer not to juggle paper tickets while you’re walking.
Shukkei-en garden: a calm start before the heavier parts
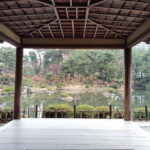
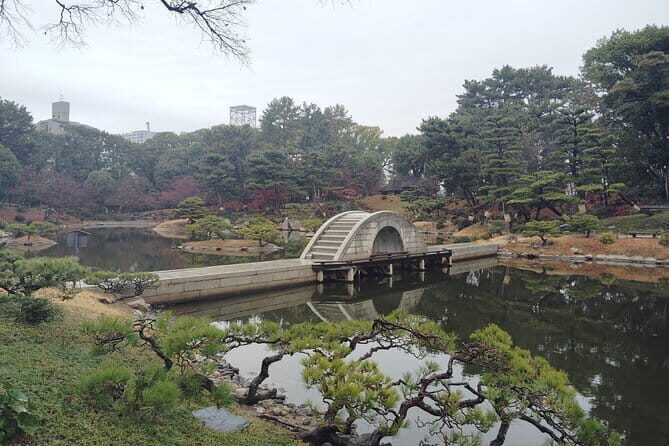
The day opens at Shukkei-en, with about an hour on-site and an admission ticket included. This stop is more than a decorative warm-up. It’s a breather before you move toward ruins and the Peace Memorial area.
I like this order because it helps your brain shift gears. A garden visit sets a slower pace. It gives you a moment to notice how the space is designed—before the tour asks you to face harder historical material later.
If you’re the type who gets overwhelmed when too much hits at once, this garden stop can do real work for you. It’s a soft landing.
Hiroshima Castle Ruins: what you’re really paying for
Next is Hiroshima Castle Ruins, where you’ll spend about 1 hour 30 minutes, including admission. You’ll walk between the key points inside the ruins, and your guide explains what each location was for and why it mattered.
This is one of those stops where a guided visit can be a shortcut. Castle grounds can feel like you’re just walking around big stones and paths unless someone explains what you’re seeing. Here, the guide’s role is to connect the space to purpose and significance, not just names.
If you like structure—timelines, how places functioned, and why they were built—this stop tends to be satisfying. You’re not just taking photos. You’re learning how the site fits into Hiroshima’s story.
Peace Memorial Museum: making the experience readable
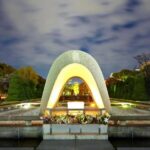
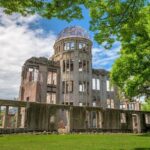
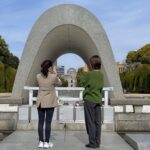
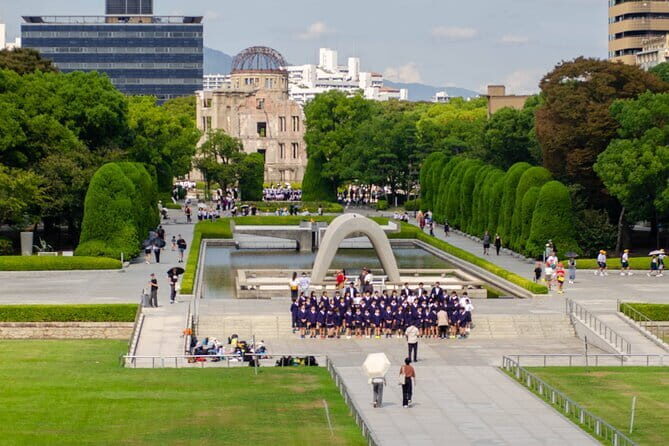
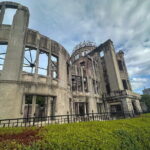
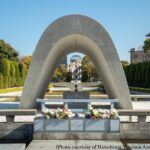
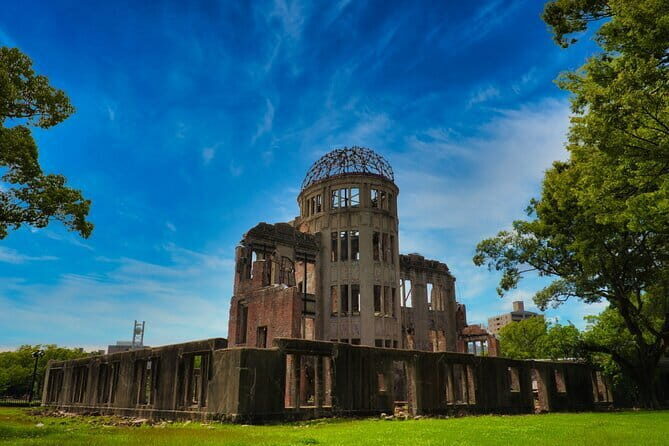
The Hiroshima Peace Memorial Museum is the emotional center of the day. You’ll have about 1 hour 30 minutes here, and admission is included.
What matters most is the focus of the exhibits. You can see personal belongings left behind by victims of the atomic bombing. The displays are arranged to guide you through the story of the bombing and its impact, so the museum doesn’t feel like random artifacts. It feels like a sequence.
I appreciate that the tour gives you time to actually look. This isn’t a glance-and-go stop. You have enough time to slow down and read.
One practical note: this is the kind of place where comfort matters. Wear shoes that won’t punish you. Then give yourself a moment after the museum to reset, even if you keep moving on schedule.
Other Hiroshima and Miyajima combo tours in Hiroshima
The World Heritage Sea Route ferry: the mental shift to Miyajima

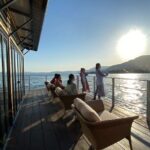
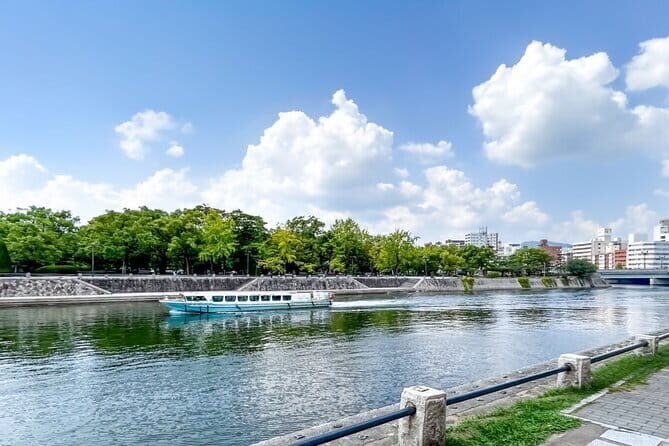
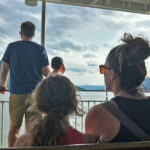
After the museum, you head to the pier near the museum and board the ferry to Miyajima. This ride takes about 45 minutes, and your guide will point out relevant things along the way.
This ferry segment is a big value add. It’s easy to underestimate how much energy a guided transport plan saves. You’re not figuring out schedules mid-day while trying to keep up with a group.
It also changes the mood. After Hiroshima’s reflective stops, the water crossing creates a natural break. You get to look outward, breathe, and start thinking of the day as two-part: learning in the city, then quiet island atmosphere.
Senjokaku Pavilion: the short stop that adds personality
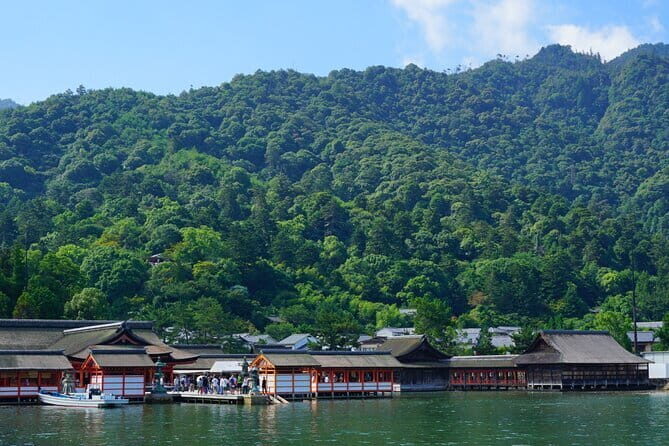
Senjokaku Pavilion is next, with about 30 minutes on-site and admission included. This pavilion is a shrine, and it’s known for a detail that makes it feel different from typical shrine architecture: the construction was never completed and it remains unfinished today.
That unfinished quality is part of the appeal. It can give you a sense of scale and space that feels unusual. For me, it works because it stops the day from turning into only big, famous sights.
If you tend to enjoy the in-between stops—the places that aren’t always the first thing people list—Senjokaku is worth your attention. It’s brief, but it adds character to the Miyajima portion.
Itsukushima Shrine Torii: where the island experience lands
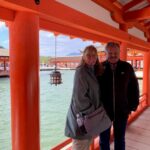
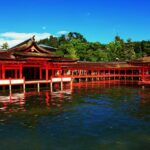
Your last major stop is Itsukushima Shrine Torii, where you’ll spend about 2 hours 30 minutes, including admission. Your guide explains Shintoism, Japan’s indigenous religion, and shares background on the shrine itself.
Then you walk through the shrine area with time for your own exploration and photos. The guide’s job here is to make what you’re seeing feel understandable, not just scenic. When you know the basic religious context, it’s easier to appreciate why certain spaces are designed the way they are.
Two and a half hours is a solid chunk of time. It’s enough to take your time without feeling like you’re being rushed, even though you still have a lot of walking built into the full day.
Walking, timing, and what to do so the day stays fun
Let’s talk about the elephant in the room: you’ll walk. The tour is built around multiple sites, and the flow is designed to keep you moving from place to place.
Here’s how I’d plan your day around it:
- Wear comfortable walking shoes from the start. You’ll feel the ground by the end of the day.
- Bring water and simple snacks. Lunch isn’t included, so you don’t want to get stuck hungry while the group is still mid-program.
- Keep your bag light. You’ll be carrying things while you’re on the move.
Also, your guide does help with timing. In the best runs, the pace stays clear and controlled, and that makes the walking feel less exhausting.
In the feedback I’ve seen from good experiences on this route, the guides’ energy and organization are a major part of why the day feels rewarding. When someone like Isabella keeps the group together and explains what matters, you’re not just tired—you’re informed.
Price and value: what $165.19 covers (and why it can be worth it)
At $165.19 per person, this is not a budget grab. It’s closer to a pay-for-convenience day. The key is what’s included.
Your price covers:
- An English-speaking guide
- Entry fees at all tour locations
- Transportation to and from Miyajima, including the ferry and train
That combination is the real value. Buying these pieces separately can mean more planning, more ticket handling, and more chances to lose time. This tour wraps transportation and admission into one package, so your day is mostly about showing up and walking.
Where it doesn’t save you money is meals. Lunch is not included, and accommodation is obviously on your own. If you’re the type who wants full control of where you eat, you’ll need to plan that part yourself.
Still, for many people, paying for guidance and logistics is what makes the day feel smooth rather than stressful.
Group size, guide style, and why it matters on emotionally heavy days
The group cap is 15 travelers. That size feels big enough to meet people, but small enough that you can still follow along without constant confusion.
A strong guide also matters even more on Hiroshima-related stops. When you’re looking at serious history, you want explanations that are clear, respectful, and grounded in what you’re seeing. On my experience with Isabella-style energy, the day feels both informative and manageable—no chaos, no guesswork.
There’s also a practical benefit: when the guide calls out where to go next and keeps timing under control, you’re less likely to fall behind and feel panicked.
Who this tour suits best
This tour fits best if you:
- Want a one-day plan that hits the most important Hiroshima and Miyajima stops without transfers chaos
- Prefer an English guide to give meaning to what you’re seeing
- Are okay with a full, walking-heavy day
- Like the idea of combining reflective museum time with an island finale
It might be less ideal if you want a slow, self-paced day or if you hate walking long distances between sites. The island part is scenic, but it still comes with time on your feet.
Should you book this one-day Hiroshima and Miyajima tour?
If you want a clear route, included admissions, and a guide to make both Hiroshima and Miyajima readable, I’d book it. The format is especially useful when you don’t want to burn hours figuring out how to connect city stops with an island day trip.
I’d only think twice if you’re sensitive to long walks or you rely on lunch being provided. If those are manageable for you, this is a strong way to get a full day that feels like more than two separate sightseeing blocks.
FAQ
How long is the Full Day Hiroshima and Miyajima Tour?
The tour runs about 8 hours.
What time does the tour start, and where do I meet?
You meet at 8:40 am at the Hiroshimaekiminamiguchichikahiroba Information Center (9-1 Matsubarachō, Minami Ward, Hiroshima). The tour then starts at Hiroshima Station around 9:00 am.
What’s included in the price?
The price includes an English-speaking guide, entry fees at all tour locations, and transportation to/from Miyajima (including ferry and train).
Is lunch included?
No. Lunch is not included.
Do I take a ferry to Miyajima?
Yes. You’ll take a ferry to Miyajima from near the museum, and the ferry ride is about 45 minutes. Transportation to/from Miyajima also includes train service.
Can I cancel and get a refund?
Yes. There is free cancellation, and you can cancel up to 24 hours in advance of the experience start time for a full refund.